White Background Photography Setup
Why White?
One of the questions I get asked a lot in classes and workshops is how to achieve a pure white background without a lot of Photoshop knockout. Graphic designers like a clean white background so that the subject could be plopped anywhere on a website page or white paper print. This way the photo can be easily shown without borders (or easily extracted and placed on a different background).
Lighting and Background Setup
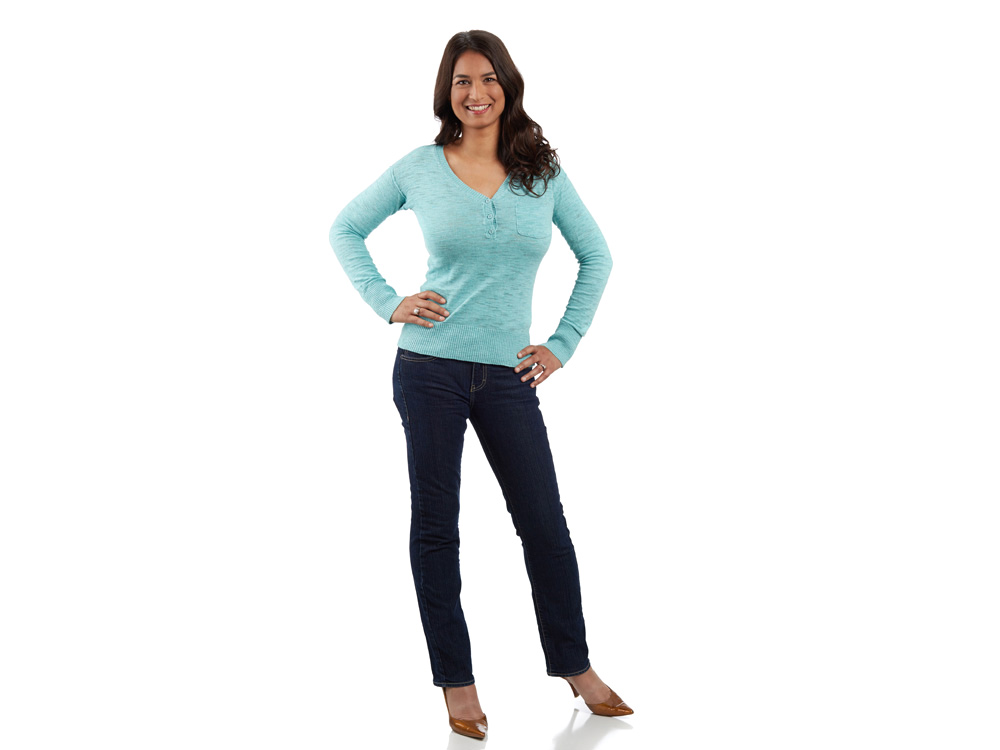
The trick in getting a pure white background in camera is to light your background about one stop brighter than your subject. In this case, my background is a 9 foot wide roll of white Savage Seamless Background Paper – Super White. They sell different levels of white, but we’re going to be blowing it out with lighting regardless, so the specific shade won’t matter a lot. For the floor, I’ve used white tile board from The Home Depot. It has two benefits: it is slightly reflective and it keeps people from standing directly on the seamless paper so your paper will last longer.
Lighting Diagram
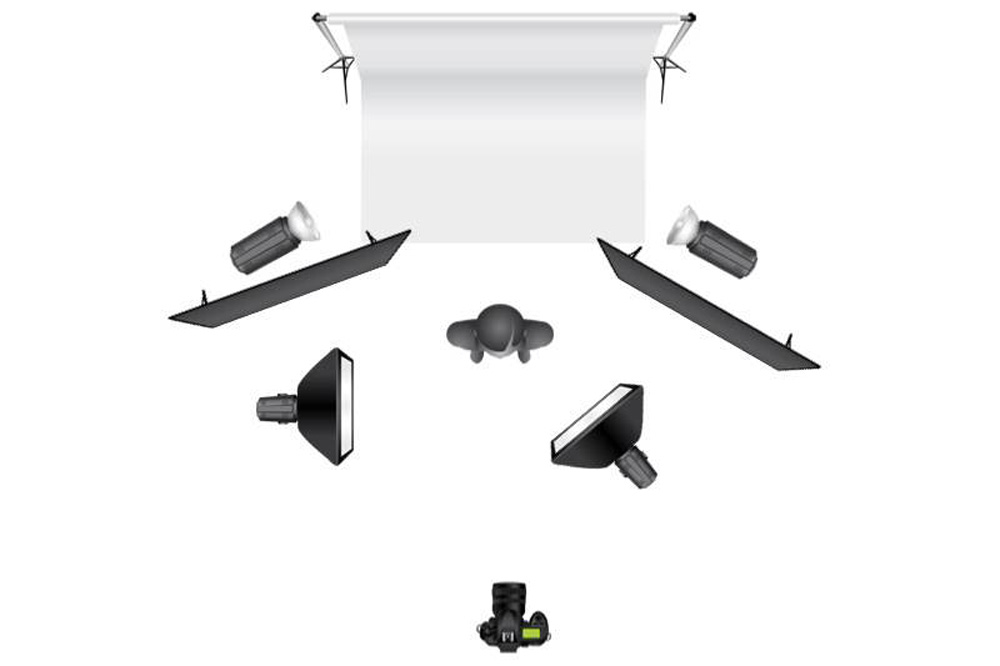
For a full length portrait of one or two people, this is the basic lighting setup. As you can see, we have separate lighting for the subject and the background so that we can control the background exposure independently. I like to have at least three or four flashes on hand for this, but it could be done with fewer lights as well (replace the fill light on the right with a large reflector, for example). Checking the background level can be done one of two ways:
- With a handheld light meter. I use my light meter to measure the subject at f/8 for example, and my backdrop at about f/11 or f/13.
- On the computer screen, measuring values in Capture One, Lightroom or Photoshop. The RGB values for the background should be r255, g255, b255 if you want full knockout white.
Key Details
- The background lights are aimed in a cross pattern (the camera right light is aimed at the camera left portion of the backdrop and vice versa) this ensures a more even light distribution.
- The background lights are flagged off from the camera, so there’s no flare or bounce directly at the lens that will decrease contrast.
- The subject is far enough from the background that they don’t enter the path of the background lights.
I like to light the subject first until I am satisfied with the light distribution/modeling on them, and then turn on the background lights later. Using softboxes rather than other modifiers on your subject will prevent spill and make the setup easier to understand as you build it up. A telephoto lens (about 85mm or longer) will help narrow your field of vision and keep distracting elements (like the sides of the backdrop) out of your photo. The above was shot at 85mm. Prime lenses tend to work better for this, as there will always be some light bouncing off of the backdrop and coming toward the camera, and prime lenses are less susceptible to lens flare.
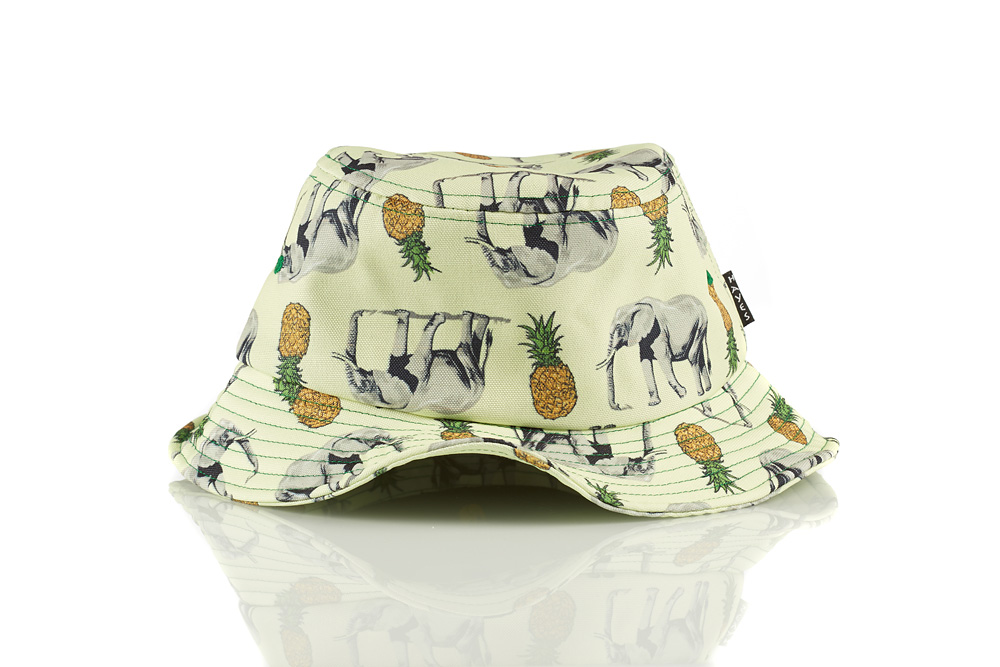
White Background Product Shots
For product images, there are many possible configurations , but I find that plexiglass, painted white on the non shooting side, makes a great reflective surface. I set my product on a table with the plexiglass under it and shoot my background setup as seen above. The product table sits about where my portrait subject stands, about 8 feet away from the background. You’ll want to hit the top of the backdrop with some light as this will reflect down in the plexiglass and make it appear whiter. Its also helpful to turn all lights in your studio environment off so that you can see just the modeling lights and gauge what will happen when you click the ‘ol shutter button.
Post Production
It is inevitable that some gray will sneak into your photos so I like to finish the photos off in Photoshop with the dodge tool set to “highlights”. Just run it gently over any areas that are not quite pure white. You can check your work by opening the info panel and as you run your mouse around the photo, the pure white areas will read “255” on all RGB values. As with all things photographic, practice makes perfect.
Thanks for reading and check out my subject above on Dr. Oz! We had a lot of fun shooting her at the studio here in San Diego and this is one of the outtakes from the session. Makeup and hair are by Stephanie Costa.
If your company can use some product photography for an advertising campaign Amazon or Shopify, I’d love to chat with you, so please don’t hesitate to REACH OUT.
.
thanks for information.